Description
EPRO PR6423/000-000 — Eddy Current Displacement Transducer
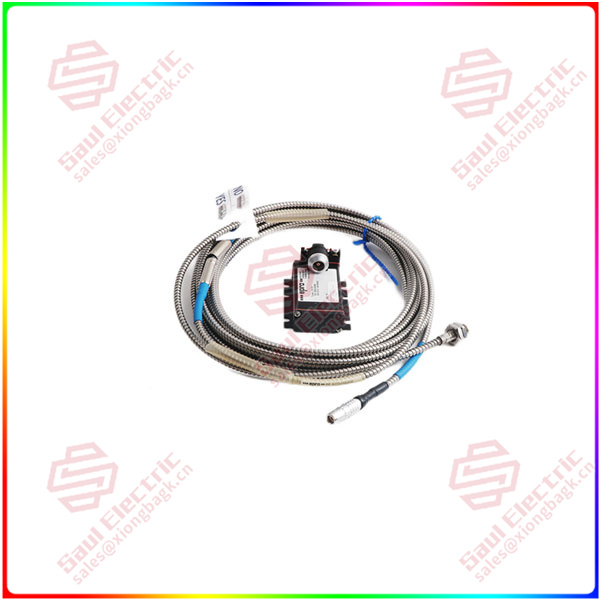
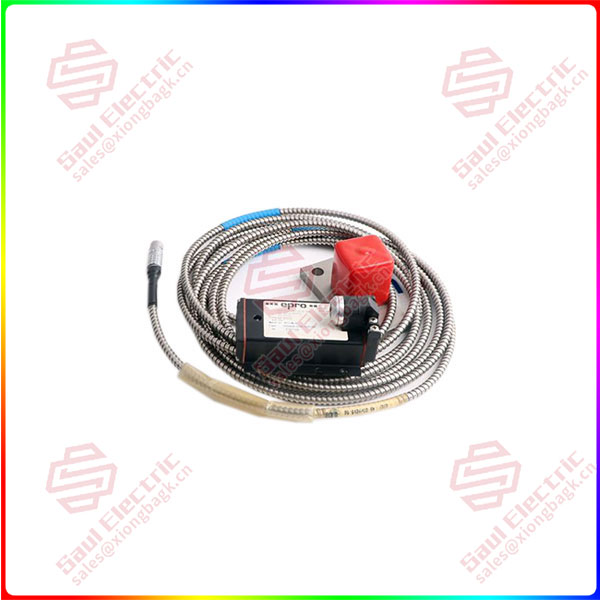
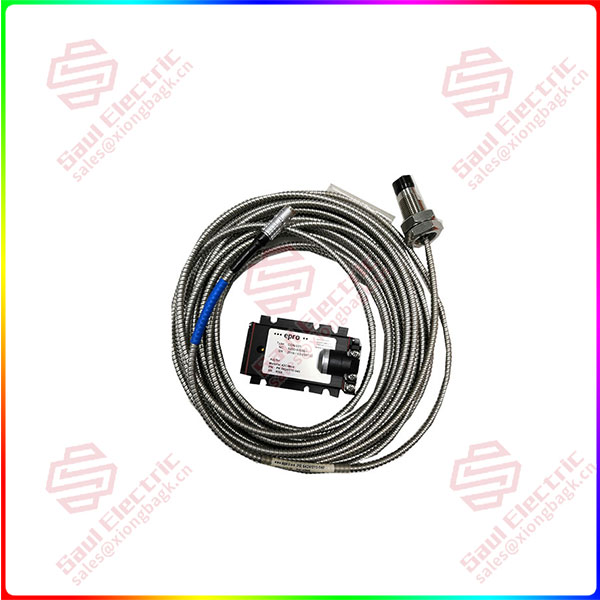
Product: PR6423/000-000, Non-Contact Displacement Transducer
Manufacturer: EPRO (now part of Baker Hughes)
Primary Application: A non-contact eddy current displacement probe designed for continuous monitoring of radial shaft vibration, axial thrust position, and differential expansion in rotating machinery such as turbines, compressors, pumps, and fans.
1. Core Overview & Working Principle
The EPRO PR6423/000-000 is a passive eddy current displacement sensor. It is a fundamental component of machinery condition monitoring and protection systems (like EPRO MMS6000, Bentley Nevada 3500, etc.).
Working Principle:
When the probe tip is brought near a conductive material (typically the machine shaft), an oscillating magnetic field generated by the probe induces eddy currents in the target surface. The distance (gap) between the probe tip and the target affects the strength of these eddy currents, which in turn changes the impedance of the probe’s coil. A connected proximitor or driver (e.g., EPRO CON0x1) converts this impedance change into a proportional DC voltage output.
Key Outputs:
-
Gap Voltage (Static DC): Proportional to the average distance between the probe and the target (used for position monitoring, e.g., thrust position).
-
Vibration Voltage (Dynamic AC): Superimposed on the DC gap voltage, proportional to the dynamic movement of the target (used for vibration monitoring).
2. Key Features
-
Non-Contact Measurement: No physical contact with the rotating shaft, allowing measurement of high-speed and high-temperature targets without wear.
-
High Frequency Response: Capable of measuring dynamic phenomena from 0 Hz (DC) to 10 kHz or higher, suitable for capturing vibration from very low to very high rotational speeds.
-
Robust Construction: Designed to withstand harsh industrial environments including high temperature, pressure, oil, steam, and radiation.
-
High Sensitivity & Resolution: Provides precise measurement of minute changes in distance (typically in microns or mils).
-
System Component: Requires a compatible driver/proximitor and extension cable to form a complete measurement chain. The PR6423 is just the probe (sensor).

3. Model Number Breakdown & Specifications
Common Technical Specifications (for standard /000-000 variant):
-
Probe Diameter: 8 mm (most common industry standard).
-
Sensitivity: 8.0 mV/µm (±5%) or 200 mV/mil. This value is determined by the probe-driver-cable system calibration.
-
Linear Range: Typically 2 mm (e.g., from 1.0 mm to 3.0 mm from the probe tip). The recommended target material for this calibration is AISI 4140 steel or equivalent mild steel.
-
Gap Voltage Range: Typically -2 V DC (at the near end of linear range) to -18 V DC (at the far end).
-
Temperature Range: -35°C to +120°C for the standard probe body (higher temperature versions exist with different suffixes).
-
Cable: Integral, coaxial, armored cable. Length is specified by the suffix (e.g., /010-030 might indicate 5m cable).
-
Connector: Usually a BNC connector or MIL-C-5015 style at the end of the integral cable.
4. System Integration & Setup
-
Complete Measurement System: The probe is only one part of a three-component system:
-
Probe (PR6423/000-000): The sensor.
-
Extension Cable (e.g., PR6426-…): Required to connect the probe to the driver over longer distances.
-
Driver/Proximitor (e.g., CON0x1, PR6424): Provides probe excitation, receives the signal, and outputs the scaled gap and vibration voltages.
-
-
Mounting: The probe is installed in a threaded or flanged holder fixed to the machine casing, positioned perpendicular to and with a specific air gap from the shaft surface (e.g., set to the midpoint of the linear range, like -10 V DC).
-
Calibration: The entire system (probe + cable + driver) is calibrated together as a set. The calibration sheet provides the exact sensitivity and linear range. Mixing components from different calibrated sets will cause measurement errors.
5. Typical Applications
-
Radial Vibration Monitoring: Two probes mounted 90 degrees apart (X & Y) per bearing to measure shaft vibration amplitude and orbit.
-
Axial (Thrust) Position Monitoring: Measuring the position of a thrust collar to prevent mechanical contact.
-
Differential Expansion: Measuring the relative growth between a turbine rotor and its casing.
-
Eccentricity (Slow Roll) Monitoring: Measuring shaft bow during low-speed rotation (turning gear).
-
Keyphasor® Reference: A dedicated probe observing a keyway or notch provides a once-per-revolution timing pulse.


Reviews
There are no reviews yet.